Sunday, 20 February 2011

Ready to go


Here we are, not long before we set off on our travels.

We'd done a total rebuild and she was pretty fit at this point.

New chassis, new 1 ton springs, second hand bulkhead, second hand back body, ex-mil doors, a load of others I can't even remember. We'd even sorted the brakes.

But first up, a few trial trips around the UK.

More later.....

Wednesday, 16 February 2011

Not such a pane - the trip to Arcos


As this blog is about travels and trips as well as mending Landies, I thought I would finish the series of glass-hunting posts with some - 'phone - photos of the trip taken on the return journey from Arcos.

We've travelled up the beautiful Cadiz coastline before, up through Jerez, via Sevilla, and into the Cota Doñana, and we'd travelled inland around the Medina Sidonia area, but we'd never been through the centre and the Alcornocales Natural Park.

So when we had to change our travel plans - due to lack of scrapyard at Jimena - I took a quick look at the map and off we set to Los Barrios to pick up the A381, which is the main route to Jerez.

I was most put out that we weren't going to Jimena. It looked a good route, I had planned a couple of geocaches into the trip and all in all it should have taken about half a day.

One look at the map, and the trip to Arcos was a full day's trip. Nearly three hours to get there, another three to get back, goodness knows how long to find the scrappy, and then if we were lucky, faffing around to get the relevant bits off.

And I hadn't packed any sandwiches for our picnic. I would be STARVING!!

But once we started on the road, my bad humour disappeared. The scenery was stunning. The natural park is full of what seem to be huge lakes, but which according to the map, are apparently reservoirs.

The road cuts through the south-western part of the park across two reservoirs that seem to stretch for miles. Despite the main road dual carriageway status of the A381 it was incredibly quiet. It was like being on a toll road at the weekend, except there was no toll to pay and this was Friday, usually a busy day on the roads.

We came off at the Medina Sidonia junction, as I couldn't face the idea of traipsing off towards Jerez, and then back on ourselves towards Arcos.

The road would probably have been good but it was full of hellish roadworks, and a huge wind had picked up, presumably the usual Poniente from the Atlantic.

Once past Paterna de Rivera, and the roadworks though, it was another lovely route, and eventually we hit Arcos with plenty of time to find the scrappy before lunch and the inevitable three hour siesta, or so we thought.

Finding the scrappy was the nightmare we envisaged. We had been told it was on the main road in from Jerez (it wasn't), so we ended up having to ask directions every couple of kms as it was quite complicated to find. We took it in turns to get out of the vehicle and ask in our brilliant Spanish 'Dónde está el desguace?'

It is, incidentally, on the road out of Arcos towards Algar - the CA5221. There is a sign next to the venta. (Pic on post from last year in May).

Post scrappy visit, we stopped at the venta and I asked where the road went. I figured we were heading in the right direction and shouldn't need to traipse back through town. We didn't. So we followed the road down through Algar, over the most vertiginous dam that reminded me of the famous Land Rover ad, and back down through, towards Alcalá de los Gazules and to rejoin the A381. Well, admittedly we made the odd wrong turn in Alcalá and ending going back towards Medina Sidonia. But we got back on track in the end. Thank goodness for the GPS on my iPhone! *Blush*

If the first trip had been pretty quiet (roadworks excepted), this one was unbelievably tranquil. We had hit siesta time by now so the whole of Spain seemed to have gone to sleep and we had the road virtually to ourselves.

It was, in the end a good day out, a successful mission, and a lovely round trip. But damn! I wish we had thought about the striker plates.

And we still haven't been to Jimena, so maybe that should be the next photo-trip post.

Arcos de la Frontera - stunning place and worth a visit


Spring flowers - reminded me of English countryside which doesn't happen often in Andalucía


The winding road to ourselves


Alcalá


Entering the reservoir zone with trees growing in water


Crossing one of the reservoirs

Sunday, 13 February 2011

What a pane - lessons and costs

Here is the much promised post about lessons learned and costs when replacing the glass/doors, based on our mistakes.

Short and sweet:

1) When you find a windscreen at the scrappy, take the frame as well. The glass is easy to get out of the frame of the donor vehicle, but it is a pain to put back in yours. And new windscreens are dear. As we know to our cost.

2) Don't be in so much of a rush when you buy doors that you forget the striker plates. They do vary. Again .. as we know ....

3) With the rear sliding windows, make sure you line up the aluminium box sections correctly. At least we got that one right this time around.

4) Washing-up liquid helps to make working with the rubber seals easier.

5) Don't rush. Sit down and think about what you need to do. We started off by pricing new glass from UK suppliers and the price was horrific. Don't rush at the scrappies either. If you are reading this from Spain, the system is different - normally you have to wait for them to take off bits, but if you take your tools they will usually let you do it yourself. Use forums and ask for help. It doesn't hurt, it doesn't cost, and you may get some useful info. We did.

Costs:

The first lot of glass we got was from El Inglés at the Poligono Industrial in Málaga. The cost was €25 for each piece of glass regardless, ie the back door, windscreen, two front doors and two pieces each for the two rear ones. Eight, if anyone is counting.

And at San Miguel in Arcos de la Frontera, €40 for each middle door.

So far so good, €280. Until the windscreen went and it was another €300+ to get it done professionally in La Linea. More than the cost of all the others put together.

Tuesday, 11 January 2011

What a pane (5) - Cracked it!

Last but not least, the windscreen.

This was the one we really lacked confidence for. Anyways, usual story, knock out all broken glass. Remove window seal and get rid of rest of glass.

Lubricate both faces of seal. Refit to glass. Start to insert glass and seal, slowly and carefully into frame.

Fuck it up at last corner. Oh well, it was worth a try.

Plan B

Undo all bolts from roof and jack up with hi-lift jack. Place bits of wood at each side and then remove HLJ.

Take out frame. Take to glass firm in La Linea (Carglass). Return on appointed day - come tomorrow, mañana of course - which was Fiesta! For ever! so shop was shut. Slouch home miserably.

Wait for them to ring - which they did a few days later, asking where we were?

Go to collect glass. Ouch!! Cost more than everything else put together.

Refit. In reverse order. Luckily it hadn't rained.

And there we are. All sorted. Give or take striker plates, and a few other door problems. But hey, looks a hell of a sight better than it did.

Costs, and lessons learned on final post to follow.

Check out the new music on the sidebar. It's relevant.

Had a bit of a musical fit with this one too - every caption sings a song.

Who shot the sheriff?


Heart of glass?


Broken down angel


Highway to hell


Spanners - from the album 'A spanner in the works'


Broken down


Led Zep - The Rover


Jumping jack flash


The Jack


The very best - hit the road, Jack


Wild Rover


Breaking glass


Back on the road again

Monday, 10 January 2011

What a pane (4) - a wind up?

Getting there. Front door windows next. We'd looked for some decent doors because ours need replacing, but had to settle for the windows only.

Like the rest of the glass, they are windy up ones, not sliding, so sorting out the scissor-style winding mechanism was something to contend with for the first time.

Remove door card. Then remove all broken glass (lots) from inside the door. Take out metal panel and winding mechanism.

Insert glass at an angle, ensuring ball rollers go into the track at the bottom of the glass. Again two pairs of hands are good. Three would be better and then there might be more photos.


Sunday, 9 January 2011

What a pane (3) - own goal - no strikers
We found a lot of glass at a Málaga scrapyard. What we didn't find was glass for the middle doors, or even any decent replacement middle doors.

But, after a drive up to the scrappy at Arcos de la Frontera, we found some middle doors, complete with glass. They were from an earlier model, but hey anything will do when you are struggling.

It had taken us ages to find the scrappy. The directions we had been given initially were not good, but once we got to Arcos, we just kept asking in Spanish for the scrapyard. Each time we asked (we were taking it in turns at this point), everyone gave us directions so far - and then said 'ask again when you get that far.' Which was exactly what we did.

Gotta love the Spanish though because it worked. Although I was slightly worried when we spoke to a council worker who kept repeating the directions. By the time he had finished I thought we had to turn left 50 times.

We arrived around 1.15/1.30pm. Not good. There was a queue. Spanish scrapyards are - er - not like British ones. You don't go armed with screwdrivers and socket sets happily to dismantle bits and put them in your basket to pay at the check-out.

Oh no. You tell them what you want and they look it up and then dismantle it for you.

We spotted a promising looking Santana and asked if we could go look. Spaniards shrugged their shoulders at crazy foreigners. Perfect!! Middle doors (ours were crap anyway and needed replacing).

'We can't do it now so come back at 5pm after siesta.' How long does it take to take off a couple of doors? Did we want to wait three and a half hours? Not forgetting we hadn't brought the dog as it was hot so he was on his own in the flat.

Assertive Brits swung into action and we said we would take off the doors. Spaniards looked surprised as this is all part of the service and why would you want to do something yourself? But they agreed. We shot up to the Santana and had the doors off in no time. Young lad came with a small car to take them back to the check-out. We paid up and off we happily went.

What had we forgotten in our haste to rip off the doors before lunchtime and closedown? The striker plates. Another trip may be called for. If they even have the same vehicle or a similar one. Live and learn.

Don't think you need the details for this one. But anyway.

Remove door card and check strap that prevents door from swinging wide open. Undo screws and nuts on hinges. Lift up the door and pull it out. Preferably with an assistant.

Replace in reverse order :D


Saturday, 8 January 2011

What a pane (2) - in the rear

We hadn't been unlucky enough to have to do this one before. The hardest bit here was getting the small rubber back in - the equivalent of the one that covers the pop rivets on the side window.

Procedure

Knock out as much broken glass as possible.
Take out the small rubber from the centre of the big rubber.
Remove big rubber from door and clean out all remaining glass.
Lubricate the face (that fits into the opening) of the big rubber with washing-up liquid and refit to door.
Then lubricate the other face that will take the glass.
Next, fit glass. Very carefully. In our case, using a blunt flat-head screwdriver (ie British rather than American) and a putty knife.
The final part of this is fitting the small rubber. It is a good idea to remove your spare wheel if it is on the back door. Sadly this wasn't possible as one of our mates had borrowed the relevant socket.
Lubricate this as well, and with patience and the same screwdriver, it eventually fits in.


Back window before


Interior of rear door

Glass out


Rubber seal in


Exterior of rear door

Glass out


Rubber seal in


Pushing new glass gently into place


Getting distracted


And that last piece of rubber


Using the screwdriver carefully to push the rubber into place


New glass and rubbers finally in


And then, time to do a bit of cleaning out too.


Glass gets absolutely everywhere :(

Friday, 7 January 2011

What a pane (1) - offside!

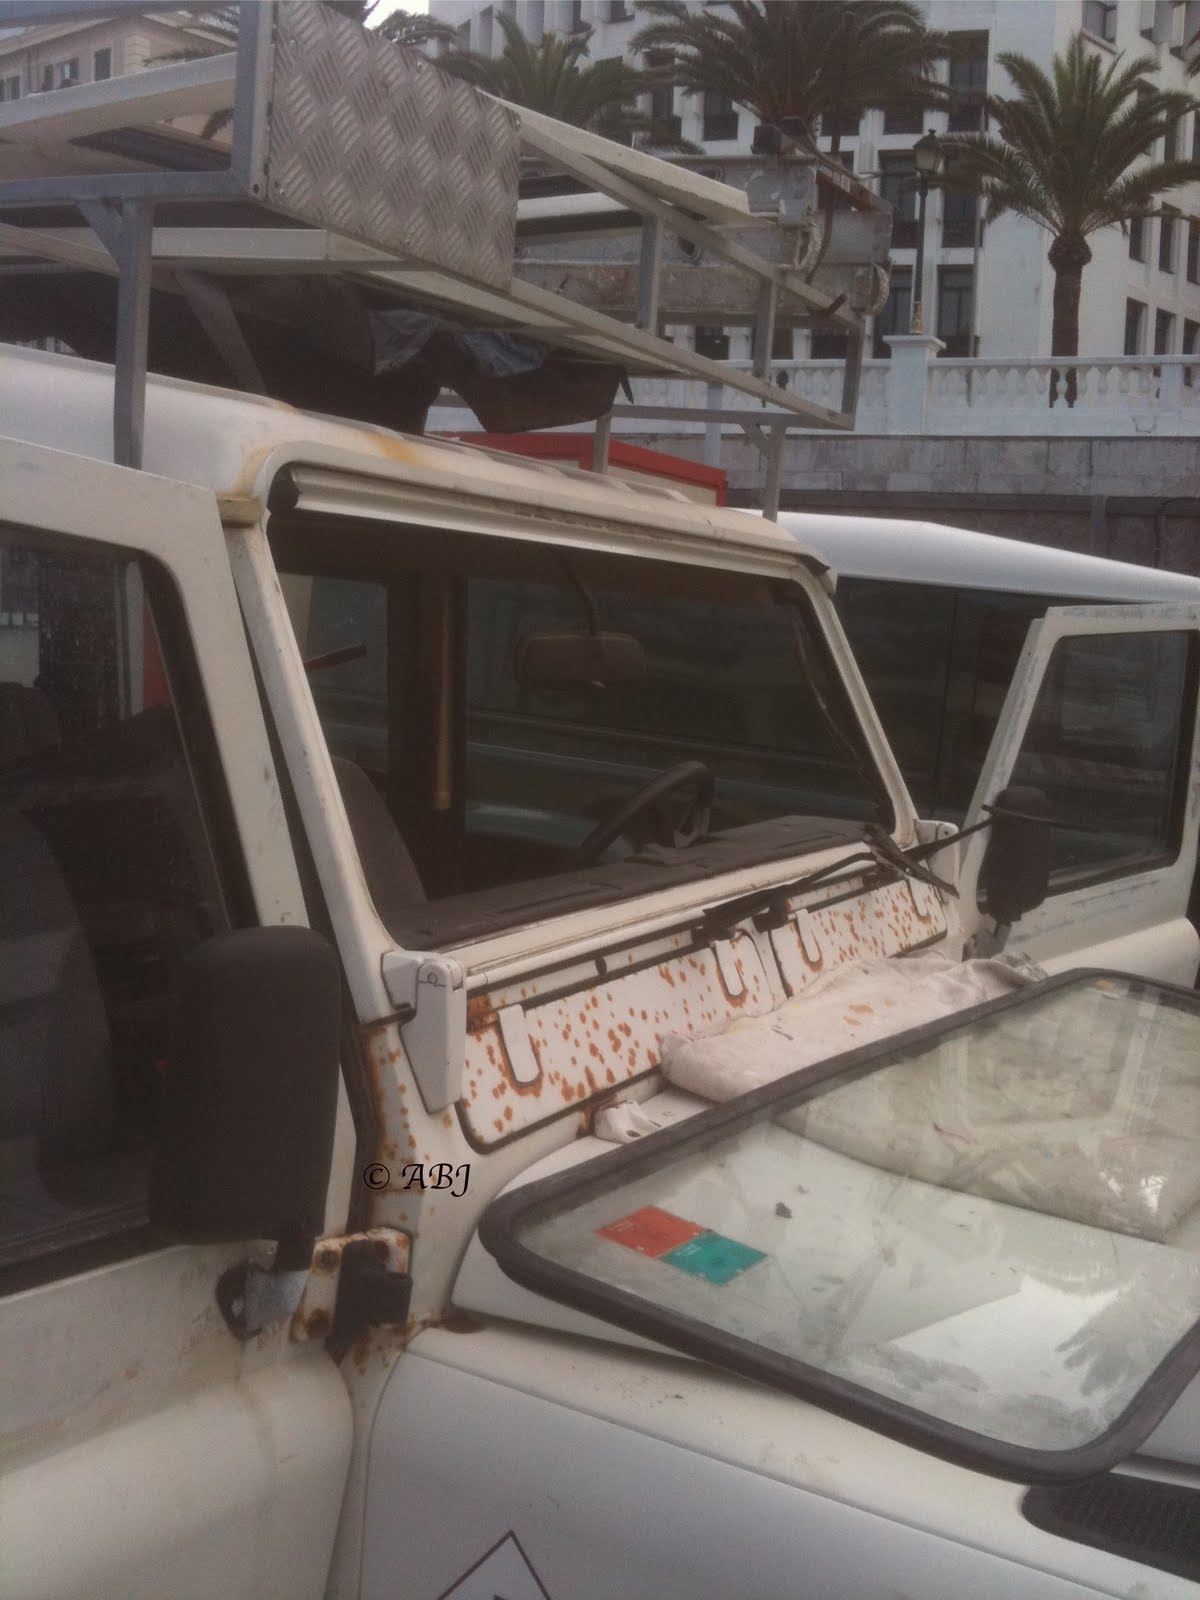
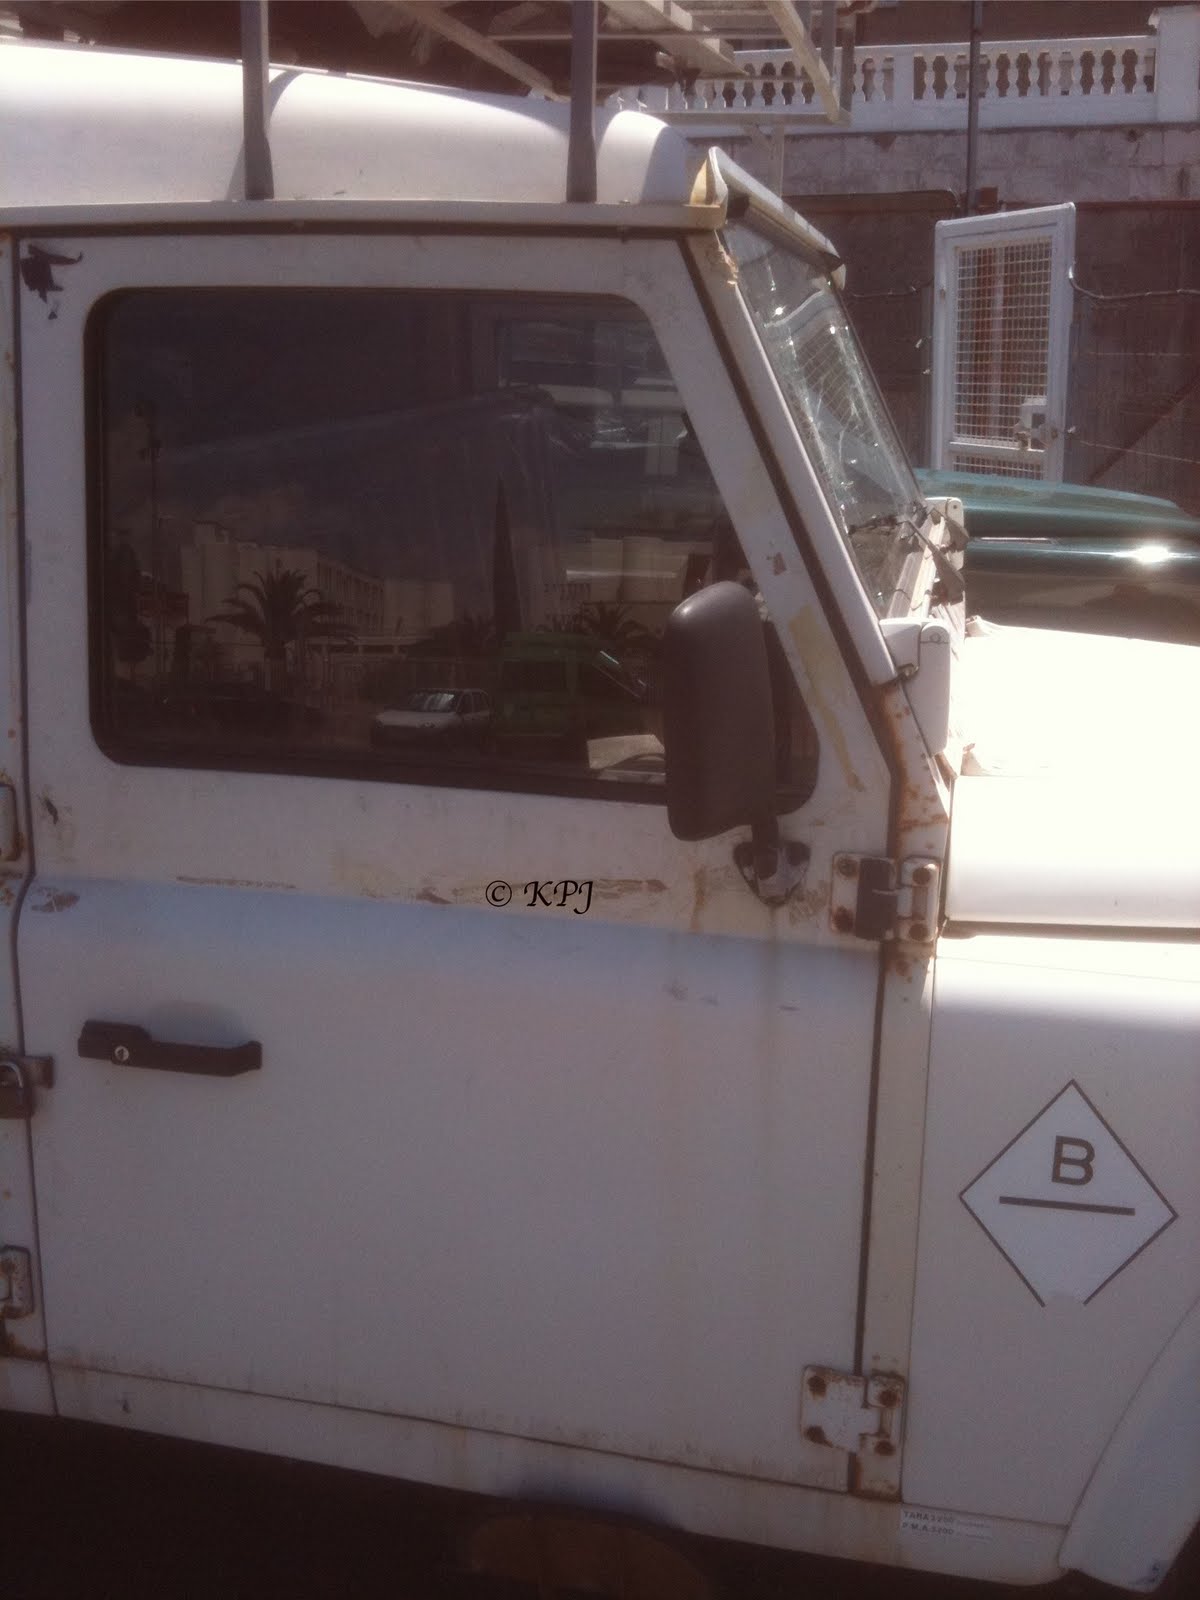
Last year, some unpleasant person, or persons unknown, smashed the windows in our Santana. Not just one, but virtually all of them, including the windscreen.

There is nowhere to source them in Gib, and the cost of getting new glass or doors shipped from the UK was prohibitive.

If the intention was to put us off the road, then it wasn't a bad start.

Still, with the help of friends, we managed to locate some promising scrapyards in Andalucía, and equipped with all the necessary bits of glass/doors, started to put it back together.

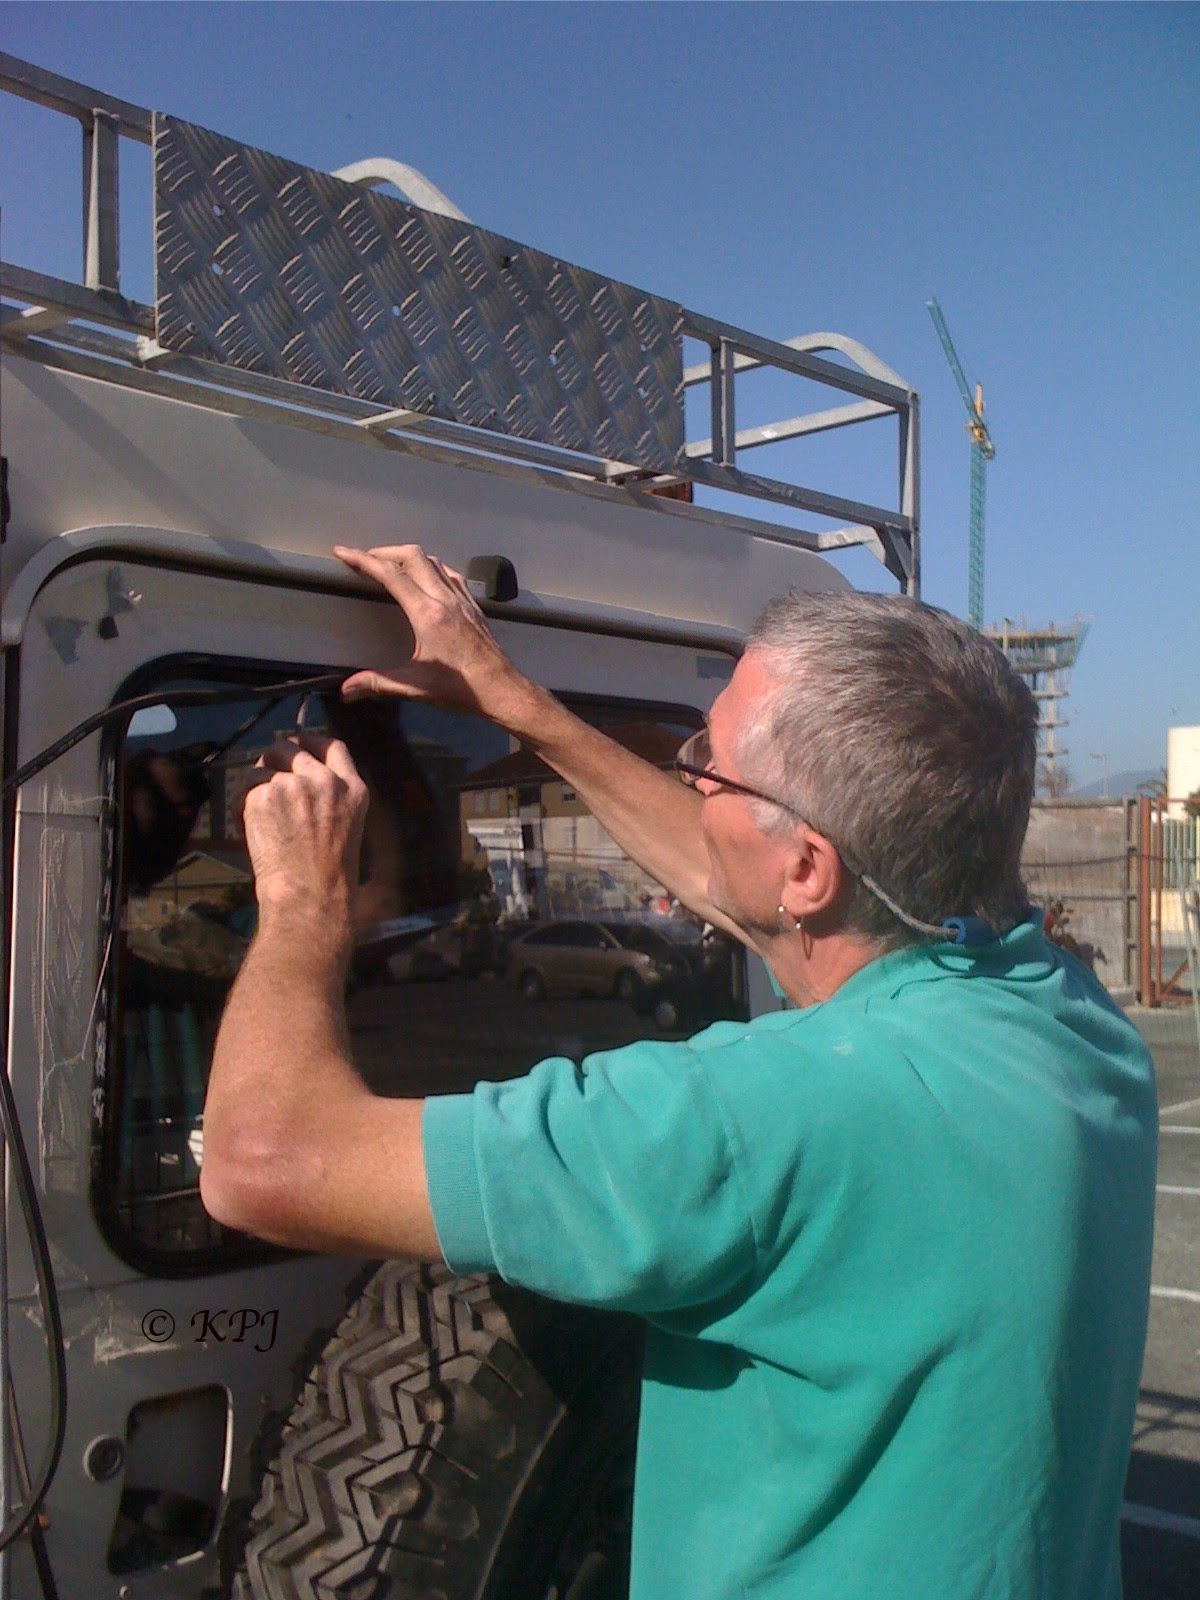
First the rear window. Either the vandals were getting tired at this point, or someone had appeared and they didn't want to be caught in the act, but only the left-hand side one was smashed. The one we had replaced the previous year in fact. Link here. Oh well, it seemed the easiest place to start as at least we had experience of it.

When we did this window the last time, we (ie he) didn't get the small aluminium box sections in the correct place. There are three of them at both the top and bottom, and they have tiny holes that need to align with the trim. The good news is, that if you confuse them when you take them off, you can work out what goes where because of the holes.


There is also one on each side, but that isn't such a problem in terms of confusion, but each one is a pig to get back in as the trim is very tight on the sides.

As before, it helps to have two pairs of hands, a) for the pop-riveting and b) for pulling the side trim around to fix the small box sections back inside.

So here we go .....

Well and truly smashed


Drilling out the pop rivets


Rivets out, next step frame


And frame out


Taking out the trim and box sections


Putting the frame back in


Gently pushing it back into place


The last step was to refit the rubber over the pop rivets, for pix of that, check out the previous post in the link above.

We've got quite good at this, and at least we did a better job this time having learned our lessons from before.

Tuesday, 14 December 2010

Speed kills

The photo says it all.

Wednesday, 1 December 2010

Random photos sequel

And to complete the random photos ..

Here is a brill exped vehicle. We were very impressed with the security plating over the rear windows. Totally different to the usual grilles but very effective and clever. Interesting roof conversion too, adds height, don't know whether it lifts, guessing not. We did leave a contact email on the windscreen of this one as we thought it was such a good and practical job but never heard from them. Oh well.


Both rear and middle windows covered by plates. Not sure what the purpose of those holes above the headlamps is?


One rear window plated including a grille, and the middle one darkened out.


Saw this one on the N340, can't remember what it was - but looking back now, maybe a jeep?


Hello :)


Another exped vehicle outside the Bristol Hotel.


Closer look at the Hannibal roof tent.


Another new Landy in Gib. Very new.